30 July 2013

Naturalocs on Tumblr

Just a heads up on the existence of my tumblr photo blog. Been in the making for quite a few months already but it's just undergone a revamp and it now exclusively hosts extra photos of my locs and the locs of others I like the style of.
 
 
- Main link button to the right of this blog (under the followers widget)


DREADLOCKS ARE...

26 July 2013

Dread Aspirations: Half Ponytail (2)


A teensy bit longer and much thicker ponytail than six months ago. The main difference being that many of my old locs were combined into the 51 I have now and it really goes to show how much they've matured beyond those little starter coils.

Checkout Dread Aspirations: Half Ponytail (1) if you haven't already. Oh and I'm heading abroad next week. All being well I should be posting my sixteen month update from the sunny shores of Marseille!

Wishing each of you a continually blessed summer XD


DREADLOCKS ARE...


**Photography ownership is held with the blog account holder. DO NOT use without permission**

18 July 2013

Curly Edition: Bantu Knot Out

I'm intrigued by curls at the moment so I've decided that over the summer I want to try out some of the most popular methods for making locs, especially short, thick locs, curly.

I'm starting off with the classic Bantu knot out. No actual knots required you just sort of twirl each damp loc around itself onto your scalp. Almost in a cinnamon swirl fashion but each new 'swirl' goes under the one before so it resembles a knot. Leave in until 110% dry for best results. Mine dried in about 4hrs but it's been above 25 degrees rcently.


Not a huge fan I must admit. Still waiting on the length in the front and sides so they'll actually frame my face but until then I'm just playing around as curiosity got the better of me.

I did try this once before. Here's how they looked almost seven months ago (before combining):


DREADLOCKS ARE...

**Photography ownership is held with the blog account holder. DO NOT use without permission**

14 July 2013

Red Locs: The Whole (messy) Process + Pics

Hi everyone, this post may seem a little scattered as it initially served as a rough to do list for my own use but I've decided to share it for anyone wanting a general description of the procedure.


Things I will need:
  1. latex gloves (7prs £1.50 Superdrug)
  2. glass bowl
  3. tinting brush
  4. paper towels
  5. bin
  6. mirror (or two)
  7. timer
  8. old t-shirt
  9. plastic caps
  10. old dark towel

Products:
  1. Lightener - Dark & Lovely 384
  2. developer 9 % 30 vol (If your hair is black/brown I don't recommend the developer that comes with the lightener it's not strong enough)
ALWAYS PERFORM A SKIN ALLERGY TEST BEFORE USE.


Potential colours (semi-permanent):
Ion Color Brilliance Brights - Red
Pravana - Red
AlfaParf Jeans Color - Chili Red
Fudge Paintbox - Red Corvette
Colorful Professional Protein Filler


Step by step process:

PRODUCTS CAN BURN, ALWAYS USE GLOVES AND AVOID CONTACT WITH SKIN.
  1. Make sure hair is clean (within 3 days) and that roots are loose and untwisted.
  2. Grease the hair line, ears, forehead and neck.
  3. Section hair into small groups.
  4. Put on gloves.
  5. Mix 1 part lightener and 2 parts developer til smooth and completely blended.
  6. Set timer for 50 minutes.
  7. Working quickly, start at the crown and work forward then back.
  8. Apply lightener 1 inch away from the root.
  9. Apply a shower cap and wait for 50 minutes (Checking EVERY 10 minutes).
  10. Remove shower cap and apply lightener 1/8 inch away from scalp.
  11. Reapply shower cap and wait for 20 minutes (Checking EVERY 5 minutes).
  12. Make sure all hair has turned evenly (use a blow dryer on low for 2 minutes if needed)
  13. Remove bands used for sectioning and wash hair in cool water squeezing through until all product is removed (minimum 10 minutes).
  14. Do a final rinse in warm water.
  15. Lightly squeeze hair in a towel until damp but not dripping.
  16. Place clean shower cap on and leave for 10 minutes using a blow dryer on low to create steam.
  17. Remove shower cap and begin applying temp hair dye.
  18. Saturate all of the locs to be coloured but avoid the scalp.
  19. Reapply one final coat of colour before placing hair into a shower cap.
  20. Wait 20 minutes following the instructions from your colouring product.
  21. Wash hair thoroughly in cool-cold water until water runs clear all over. Be sure to repeatedly squeeze water through each loc (root to tip) as well as to rinse behind ears.
  22. Saturate hair in warm water and apply coconut oil. Squeeze out excess water with your hands until they stop dripping and place a shower on for 20-40 minutes before finally rinsing in cool water. The same can be done with diluted conditioner if you prefer (only for mature locs).
  23. Pat dry and leave to air dry completely.
Link to slide show: http://www.photosnack.com/BD5D897EFB5/ph98wi39


And that's pretty much how I did it. If you're going to try it yourself the process will vary depending on the results you want to achieve and what exact products you use but be confident in your own judgement and don't be afraid to ask for help. When mixing the developer try to add slightly more developer than required so that the mixture is a tad weaker, especially advisable if you only need a brown or golden colour rather than yellowy-blond. For individual locs or tips place each loc in foil instead of using a shower cap. For two tone colour always start with the darkest colour first.

In the end I used two boxes of lightener and around 200ml of developer to do my whole head though I only needed 125ml of colour. I highly recommend using semi-permanent colours as you'll not know the true result until it's on so better to have something that fades than something that's permanent.

After my first attempt which appeared blotchy I then repeated the process which resulted in a red that was too bright and a touch too brassy/orange. I did a little research into how to tone down bright red hair and was surprised to find that many people have tried using brewed cold coffee. I didn't quite get around to trying it for myself but I did go out and get a reddish-brown colour (Adore 78 Rich Amber) and mixed it with the chili red I already had before applying it to my hair. It came out much richer and darker and really compliments my skin, eyes and glasses. It's funny because in all my research I never envisioned a brown/red combination but I'm in love with the results.


It was a lengthy process, far more complex than I could have foreseen. There were no guarantees and I had to be prepared for the worst, but all in all it worked out.


I'll update soon. Any questions, comments, please leave them below.

DREADLOCKS ARE...


**Photography ownership is held with the blog account holder. DO NOT use without permission. Slideshow created with Photosnack**

6 July 2013

Red Locs

Eeek! My locs are red!

Dying my dreadlocks was a new experience but I'm relieved and impressed with the initial results. My hair feels quite soft (after conditioning with coconut oil) and perfectly healthy which was always my main concern.

It's been almost a year but I'm glad I waited. My locs needed to reach a good stage of maturity to endure DIY colouring. Through my experimentation I developed a clearer idea of how I wanted my locs to be as well as how I definitely didn't want them to turn be. My biggest concern of late was where and how to apply the ligthener/dye so that the colour worked with my complexion. I decided to use a semi-permanent colour because double processing (lightening, then dying) increases the risk of damage and I'm not an expert. I decided to place the dye quite away from my roots to help with the contrast and this way my new growth will hopefully blend better. The semi-permanent dye causes absolutely no damage and delivers bright results meaning I didn't have to lift my own hair colour very far. The downside of course is that it's not permanent. In fact this brand doesn't last long all. Washing my hair once a week is only an option if I'm willing to reapply colour very frequently but for now I happy to do it as it's much safer than a permanent dye.

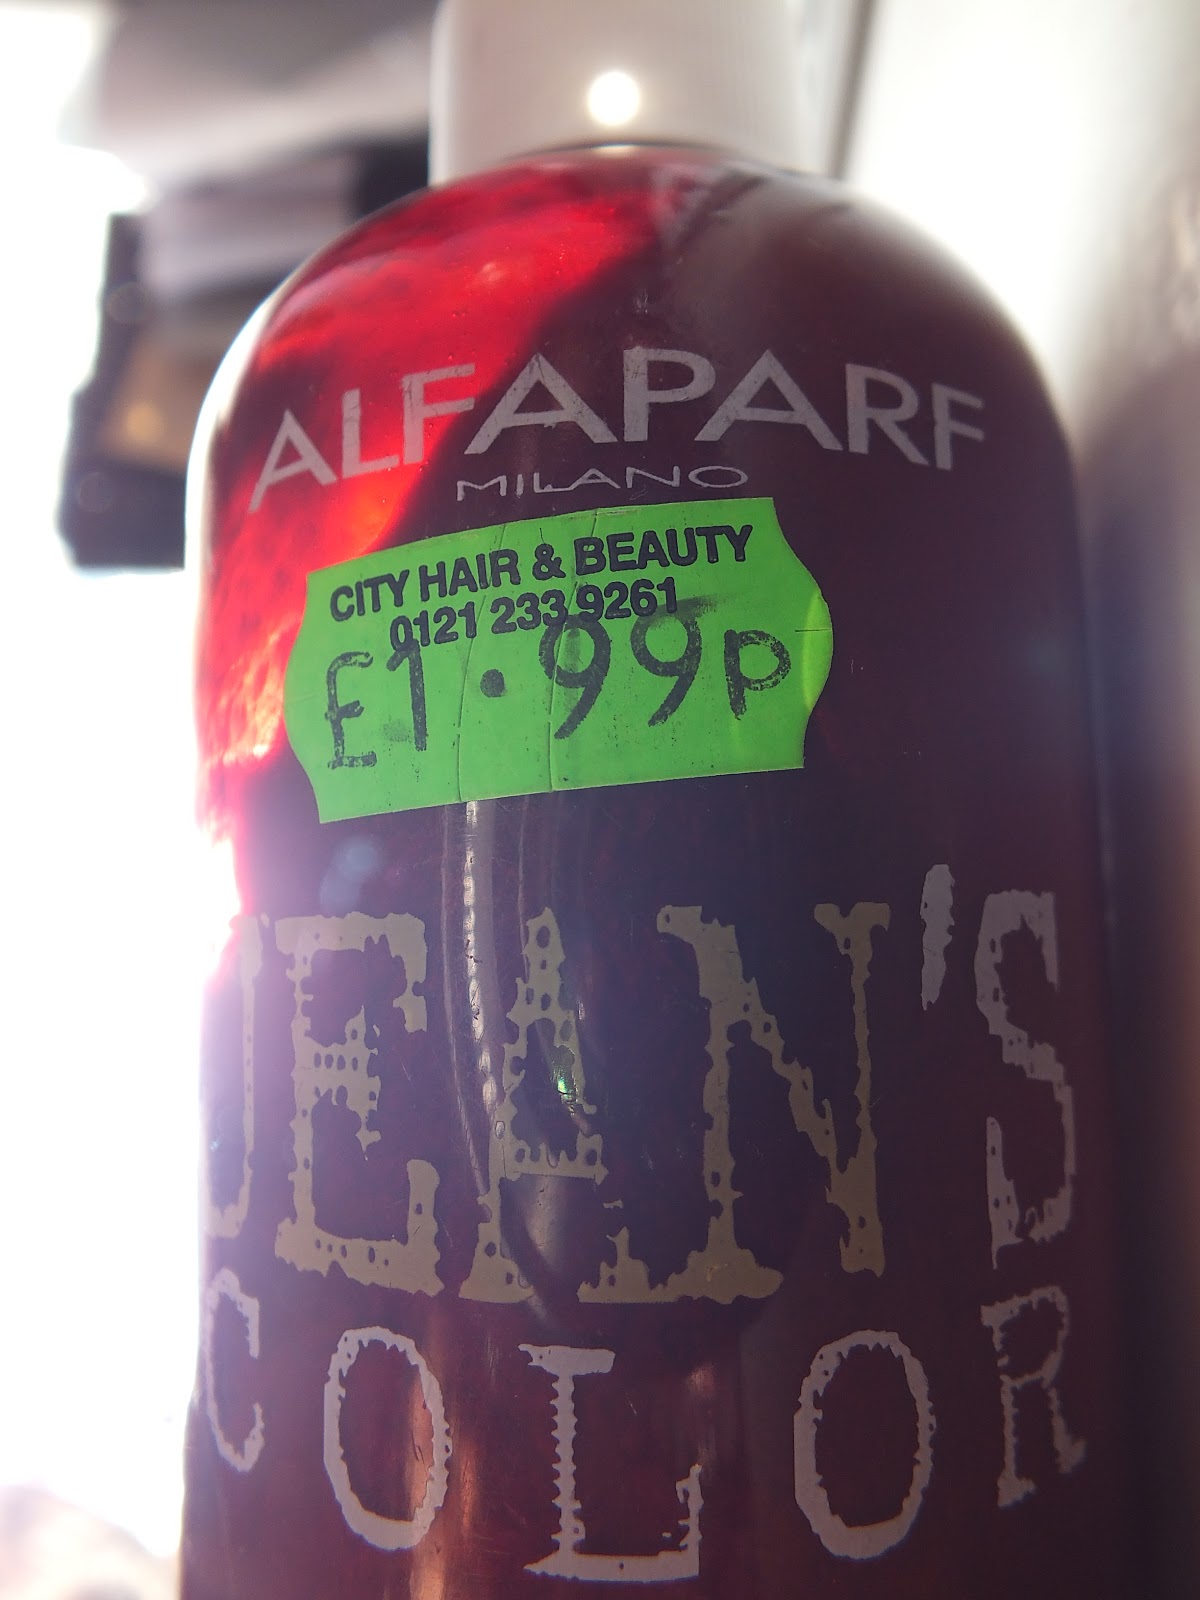
The products I used:


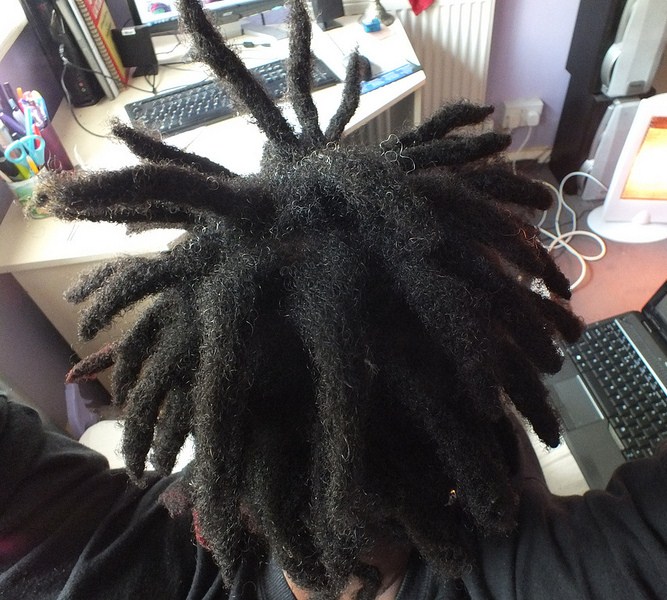
And here's how it came out:


Now as far as this being my final colour I have to say I'm not 100% keen on how it turned out and here's why. When I lightened my hair I avoided squeezing the product in after reading into the debate for and against how much damage may be caused [to the effect of; bleach/dye can become trapped inside dreads causing shedding, breakage and hair loss in the future, therefore only coating the outer dread is advisable]. That said my results seem blotchy. I think with thicker dreads a lot more of the original colour can show through giving a sort of two tone effect:


By comparison some of the locs I'd dyed several times before (as above) are a more vibrant red. The others look almost burgundy/black.

I'm also not so sure this shade of red suites me in the first place but the best thing about semi-permanent dye is that in a few weeks it'll fade and I can try a different shade.

I am planning to go back over with the lightener just to even out the tones and also to redo my roots at the crown which didn't take so well because I ran out of product. Another plus for using a box lightener instead of bleach is that once the two components (lightener and developer) are mixed together, the chemical compound is designed to stop processing after a certain length of time. Sadly bleach (powder or liquid) will keep processing until there's nothing left so washing itr all out is vital.

TIP: As mentioned before in a previous post, to achieve the lightened colour (pics in next post) I did not use the bleach booster packet provided in the Dark & Lovely product above, so for anyone wanting to try it themselves, don't use it. You'll get great results and less damage without it and it's only really needed if you want to get to a true blonde. If you're throwing any other colour on top leave the bleach packet out.

Other than that I am super grateful that it worked out, I recommend those products to anyone with healthy hair and I'm so so excited to have red locs!

Next post goes into more detail about how I got these results and shows the results of me re-doing the process to get a even look. I took plenty of photos at various points during the transformation - Red Locs: The Whole (messy) Process.

Commenta welcome below.

DREADLOCKS ARE...

**Photography ownership is held with the blog account holder. DO NOT use without permission**

3 July 2013

Month 15

Today makes one year and three months for me and my locs. I never thought I'd say it but time is flying.

Hair end of May (just washed):


Now that I'm back exercising regularly I rinse my scalp every week but I'm only using shampoo 1-2 times a month. As you've probably noticed I'm not really sticking to a formal routine, I just base my decisions on what actives and events are happening at the time.

People are starting to instantly recognise that I have locs. My gran however is still baffled by the whole thing but at least she's very pleased with the growth. This month my locs have indeed out done themselves in that department and I finally have a good 3-4 inches un-stretched.


Aside from the odd basket weave, to keep the front out of the way, I'm not really sure how to style my locs. They're just not at that length yet and the side effects from forced tension aren't worth the effort. We'll see what I'm working with by the end of the year.

Recently I've amped up my loc grooming as I'd kind of let the fuzz and frizz go by the by. I've been trying to palm-rub every week to help them grow cylindrically. I found that not tending to them was certainly beneficial while they firmed up but as a result some of my locs in the back had become flat (I wanted to do a separate post on the topic but flat locs proved difficult to photograph). Also the frizz was stringing off to the point where I'd been left with this:


At first I wanted to keep them and see how they'd develop but then they got too stringy and made it seem as though I was thinning so I snipped them off a couple of weeks ago. Now all my tips are even and fortunately non have unravelled.
 
 
I have a new favourite that I had to take a snap of:

in love with thickums here, all nice and  loc'd


Hair in June:


Next post: Red locs, excitement all round!

DREADLOCKS ARE...

**Photography ownership is held with the blog account holder. DO NOT use without permission.**

1 July 2013

Coloured Dreadlocks: Results Are In

1st of July and the polls have closed on my little survey about what you guys think of coloured dreadlocks.

33 votes were counted over the past nine months and the results are as follows:


 And from top to bottom the options (in full) were:
  1. I'm rocking a colour right now.
  2. I've always wanted to try.
  3. Dread heads should keep it natural.
  4. I have no opinion, it's not my hair.
  5. Beautiful but not for me.
  6. Love them.

I'll be colouring my locs in a two part process; 1) lightening. 2) dying.

I had thought about documenting the progression but as I'm not on the video/vlog platform I don't think I could convey an exact tutorial. Nonetheless, if I can gather a few pictures during the procedure I'll be glad to post them if you're interested?

Have your say in the comment box. If you didn't vote just right down a number 1-6 or elaborate on your opinion.

Check out the results of my coloured locs: Red Locs
 
DREADLOCKS ARE...

*Photography ownership is held with the blog account holder. DO NOT use without permission*